How to Make and Can Homemade Pear Sauce
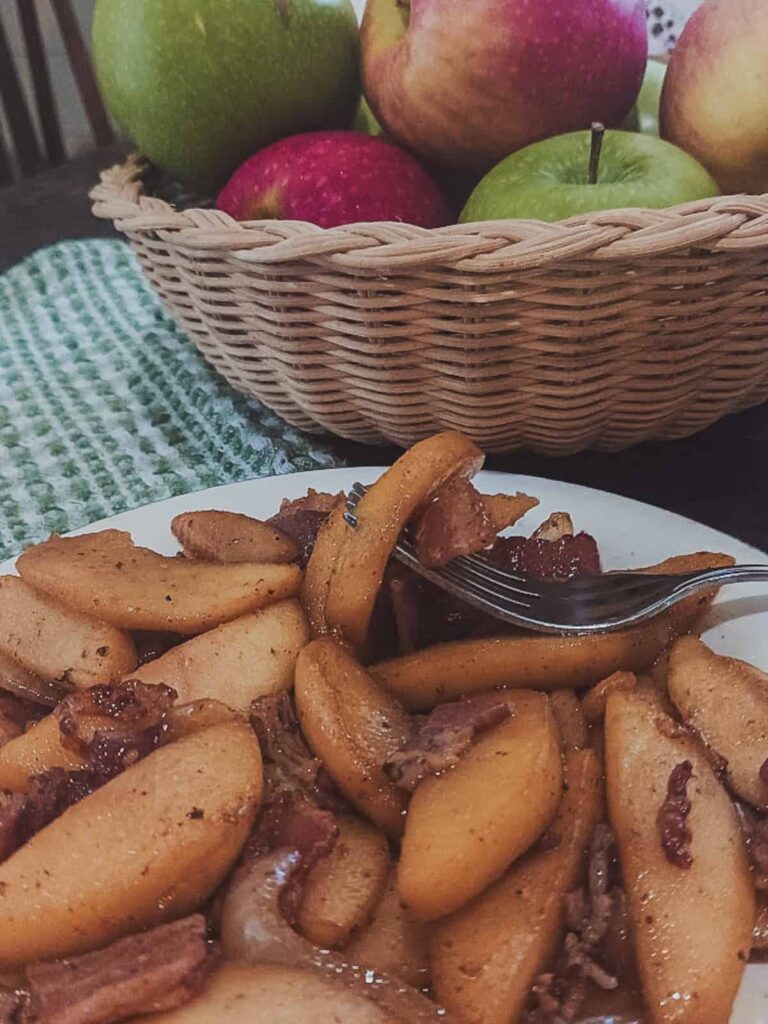
It’s the simple things like homemade apple sauce on the table, that make meals feel special in this house. “Apple sauce?” you might think. “This is a post about homemade pear sauce, not apple sauce.” Yes it is, but it’s essentially the same food and made in the exact same way, so the two are interchangeable and we enjoy it in the same way. It’s simple, it’s delicious and it’s a bit nostalgic. Just the way I like it.
After I made a batch of pear sauce last week, my husband took a bite, smiled, and said, “It will be so nice to have this sitting on the table at supper time again.” It’s been a while. I used to make huge batches of both pear and apple sauce that would last most of the year. We’d pick baskets and baskets of pears from our trees. We haven’t had pear trees at our last couple of homes, so when I saw Azure Standard had boxes of organic pears on sale, I added one to my virtual basket for old times sake.

Making pear sauce is simple. I make it plain, using just pears, so it tastes like fresh pears off the tree. Sometimes when I spoon it into a bowl for serving, I’ll sprinkle a bit of cinnamon on top. It’s so good!
Making and Canning Homemade Pear Sauce – 2 Different Ways
Supplies Needed
Method #1
- Paring knife
- Food mill
- Large pot for cooking pears
- Large bowl for collecting sauce
- Small bowl or pan for catching scraps
- Canning pot
- Canning jars/lids/rings
- Canning tongs
- Canning funnel
- Large mixing spoon
- Ladle
- Large strainer
Method #2
- Paring knife
- Immersion blender
- Large pot for cooking pears
- Canning pot
- Canning jars/lids/rings
- Canning tongs
- Canning funnel
- Large mixing spoon
- Ladle
- Large strainer
How to make pear sauce
Method #1
If you have a food mill, this is the fastest and simplest way to make pear sauce when making large batches. This is the mill I have had and used for years.
- There’s no need to peel or core the pears using this method. Just cut off the stem and blossom ends to help prevent some of the browning that takes place. Quarter the pears and toss them in a large pot.
- Once all of your pears are quartered, rinse them and fill the pot with water for boiling.
- Bring the pears to a low boil and cook until they are just fork tender. Don’t cook them until they are fully soft.
- While your pears are simmering, set up your food mill, get your canning jars ready and start your canning pot. (Canning directions are below.)
- Once the pears are tender, carefully drain the liquid from the pears using a strainer.
- Spoon the pears into the hopper of your food mill and begin processing them. The food mill will remove the skin and seeds from the pears. There will be some flesh left on the scraps that are separated, so I usually run them back through the mill once or twice.
- If the pear sauce is thin, you can return it to the pot and simmer it slowly until it thickens. If not, your pear sauce is ready to can or can be refrigerated for fresh eating.
Method # 2
When I first started processing my box of pears, I thought I would just do it by hand with my stick blender/immersion blender instead of using the food mill, since I was only making a small batch of 20 pounds. After I got about on third of the way through the box, I thought better of it and decided to save the rest for another day and use the food mill. This method does take longer and yields a bit less pear sauce, but if you don’t have a food mill or are only processing a few pears, it makes a delicious smooth pear sauce that is creamier and lighter in color than the food mill method.
- Peel the pears and cut them into chunks, removing the core.
- Fill a large pot with the pear chucks, rinse them and fill the pot with water for boiling.
- Bring the water to a low boil and cook the pears until they’re soft but not falling apart.
- While the pears are cooking, get your canning jars ready and start your canning pot. (Canning directions are below.)
- Once the pears are soft, carefully drain the liquid from them using a large strainer.
- Return the pears to the pot and blend until smooth using an immersion blender.
- Now, your pear sauce is ready for canning or to be refrigerated for fresh eating.
Canning directions
This is my method for canning pear sauce using the water bath method, which was taught to me by my mother and grandmother. Although this is how I do it, I highly recommend using approved methods for food preservation. Links can be found in my guide to home canning.
First, decide whether you want to use quart or pint jars for canning.
- Collect your jars, lids and rings, wash them, and prepare to sterilize the jars and lids.
- To sterilize, put your jars and lids into a water-filled canning pot and bring to a boil. Allow to boil for 10 minutes then carefully remove them. It’s important to keep your jars warm until you are ready to fill them. You can keep them in your canning pot and just turn the heat down so they stay hot but don’t continue to boil. I have begun sterilizing my jars in the oven. I place my jars and lids on a cookie sheet and put them in an unheated oven. I set the oven to 250° and hold them at that temp for 10 minutes, then turn the oven off, leaving them in the oven until I’m ready to use them.
- Once your pear sauce is ready, carefully fill the warm jars with the warm sauce using a ladle and canning funnel, leaving ½ inch of headspace.
- Be sure the rim of the jars are clean, wipe them if necessary, using a damp cloth. Place the lids on the jars and screw on the rings.
- Carefully lower the jars into the canning pot using canning tongs. Be sure the jars are completely covered with water.
- Return the water to a boil and process for 15 minutes for pints and 20 minutes for quarts, for up to 1000 ft elevation. The processing time increases depending on your elevation. See notes below.
- After the processing time is complete, turn the heat off and allow to “simmer down” for a few minutes. Carefully remove the jars using canning tongs, setting them on a towel where they can cool and seal. Listen for that satisfying “pop!”
- Once the jars have completely cooled, check to be sure the jars are properly sealed, then remove the rings and label the jars. If there are any that didn’t seal, store them in the fridge.
Notes and Tips
- Check jars for cracks and chips before canning
- On average, 1 bushel of pears will produce 24 quarts of sauce or 48 pints.
- To help prevent browning, add ½ tsp of lemon juice to each jar after filling with applesauce.
- You can make spiced pear sauce by adding ground cinnamon to taste before canning. Sugar can also be added.
Processing times:
0 to 1000 feet in elevation – 15 minutes for pints, 20 minutes for quarts
1,001 to 3,000 feet in elevation – 20 minutes for pints, 25 minutes for quarts
3,001 to 6,000 feet in elevation – 20 minutes for pints, 30 minutes for quarts
Above 6,001 feet in elevation – 25 minutes for pints, 35 minutes for quarts
Pin it:

I may get credit with Azure Standard when you make a purchase, following the link I provided.


This sounds so delicious! I’ve never made apple nor pear sauce but am inspired now. Especially that my baby is starting on solids, this would be a great option!
Yes it would! My little nieces loved it when they were babies. I hope you give it a try. If you do, be sure to let me know how it goes!
Pear sauce is so yummy, thanks for sharing this recipe!
Agreed..you’re welcome!
I really like the idea of swapping apples for pears. I love pears. Thank you for this recipe – I have just purchased canning jars I might make this my very first canning. 🙂
Great! Yes, I made an applesauce cake last week using this pear sauce and it turned out great. Be sure to leave me a comment on how it turns out once you make it! 🙂
I have never had pear sauce, but it sounds good! I just started getting into canning, so I will have to put this one on my list
Awesome..let me know how it goes! 🙂