Tung Oil: A Natural and Easy to Apply Floor Finish for our Pine Floors
We have had so many compliments and questions about the floors in our old house, I felt it was time to share the details with you. We found a natural, non-toxic, hassle-free wood floor finish that is easy to apply, wears naturally and is simple to maintain, and we are very pleased with the results!
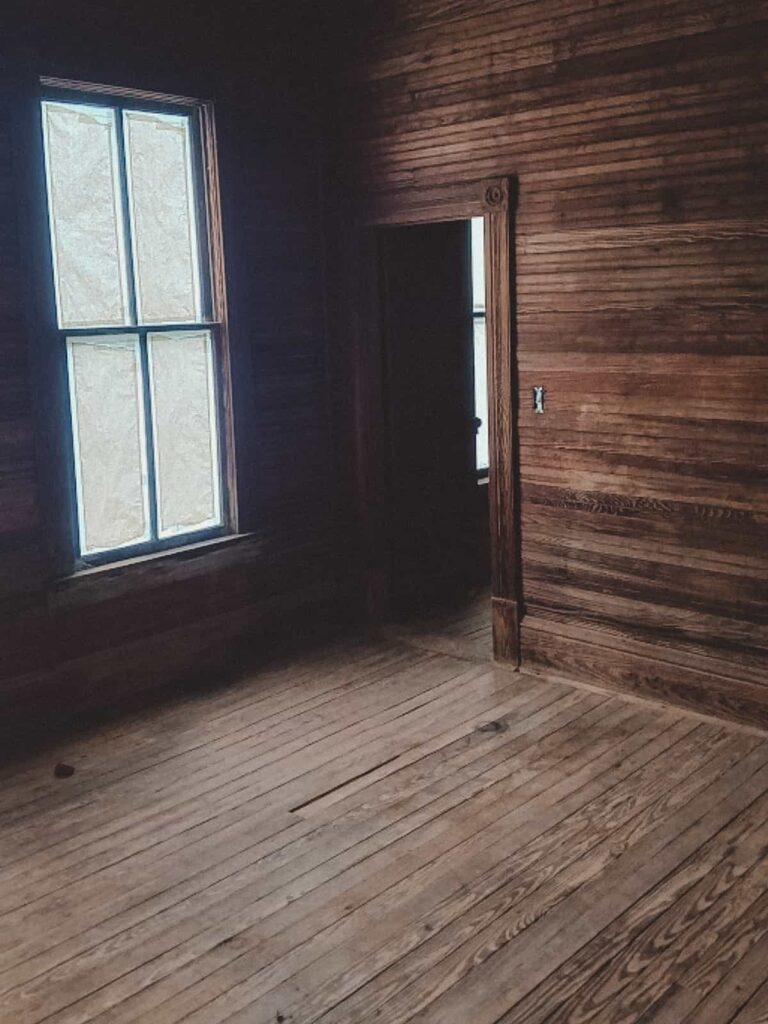
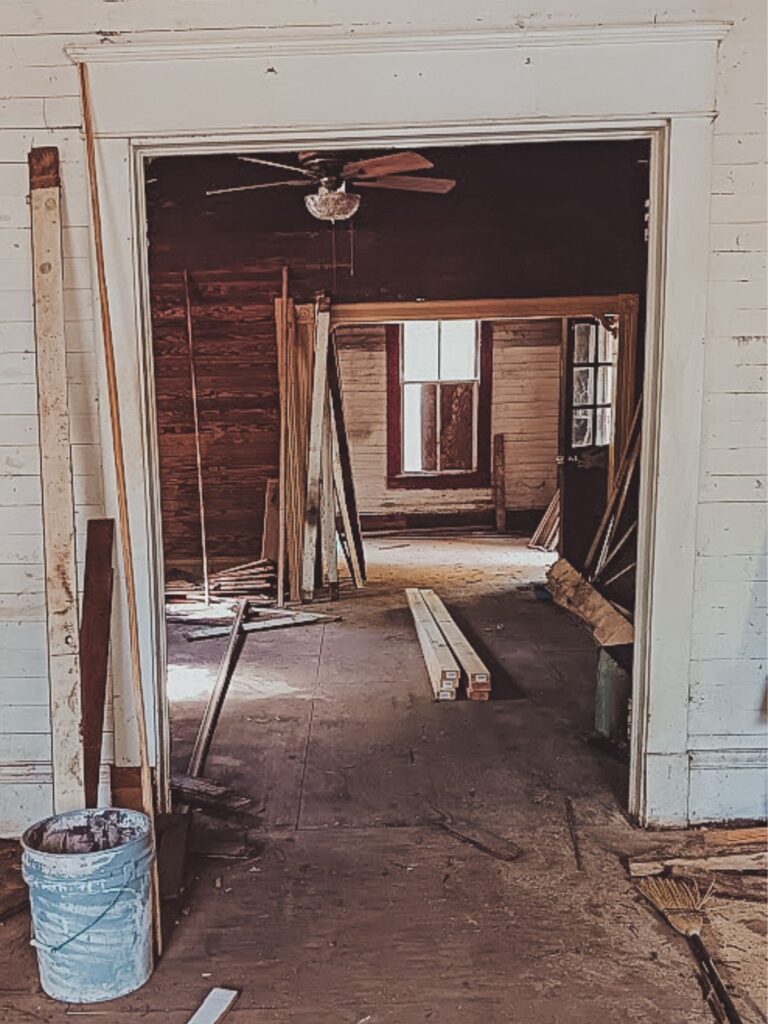
When we purchased our 1901 farmhouse, the downstairs floor had a mix of original heart pine floors, tile planks and 12-inch boards used as makeshift wood flooring. All of it was in poor condition and needed to be replaced.
Upstairs, still had the original pine floors. They were not in perfect condition, but salvageable. Our main goal during renovation has been to preserve as much of this old house as possible and only replace what was absolutely necessary. We knew we could work with these old floors.
Using natural materials was important to us during the renovation of our farmhouse. When installing new fixtures, we aimed to do so in a way that would compliment the old house’s charm while holding up to all the living we do in our home. I value charm, but I also prioritize practicality and ease.
The idea of sanding and finishing, or refinishing, floors has always seemed daunting and intimidating to me. In an old drafty, dusty house, I feared that applying a polyurethane finish would result in dust bunnies getting stuck in it. I was also concerned about over-sanding the old floors upstairs in order to refinish them. I didn’t know how much sanding these 120-year-old floors could take! After doing some research, I came across Pure Tung Oil from RMP Finishes.
This natural floor finish appealed to us for multiple reasons.
First, we try to keep things as natural and toxin-free as possible in our home and this product is just that. Walking around on a clean plant-based material versus a synthetic chemical-filled product sits well with me.
Second, it appeared easy to apply. It’s as simple as rolling or brushing the oil onto a clean floor, letting it soak in and continuing to apply it until it no longer soaks in.
As an added bonus, there’s no waiting for it to dry and cure. It can be (gently) walked over immediately! Dust bunnies are not a problem because they simply wipe away once the oil soaks into the wood! Additionally, tung oil will not only seal the floors, but also hydrate and restore the old wood we aimed to save.
Furthermore, as the finish wears over time in high traffic areas, there’s no need to sand the floors and refinish. You just need to apply more tung oil as needed, where needed.
We knew this was the perfect product for us! Keep reading to learn more about how we finished our floors using tung oil.
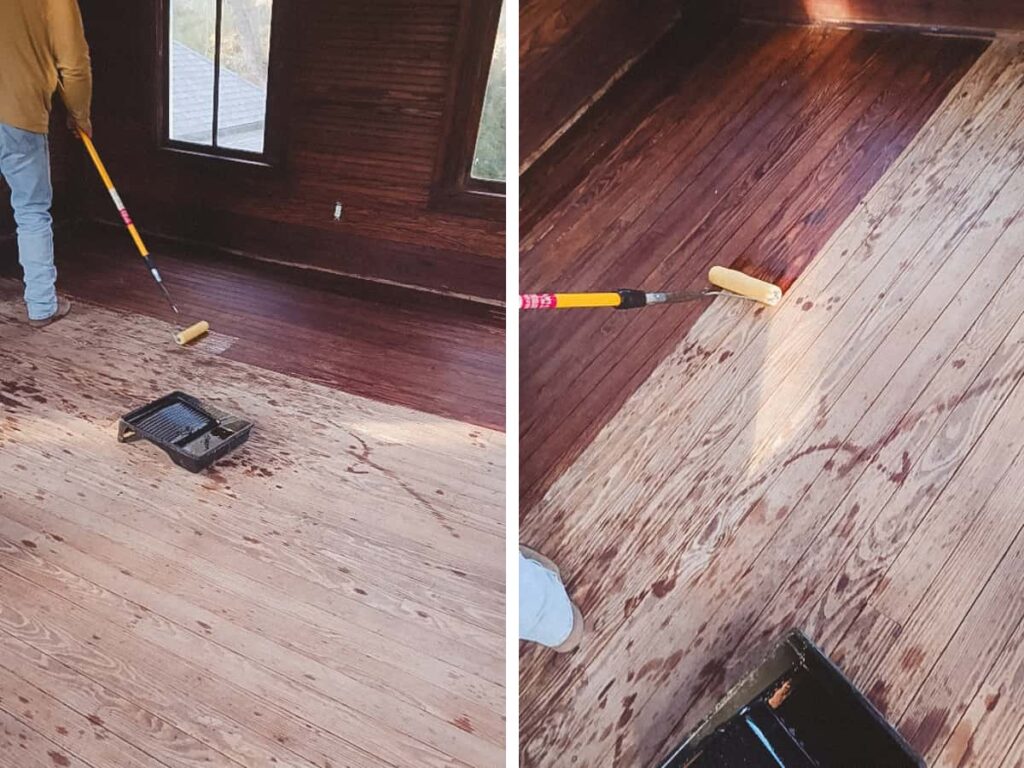
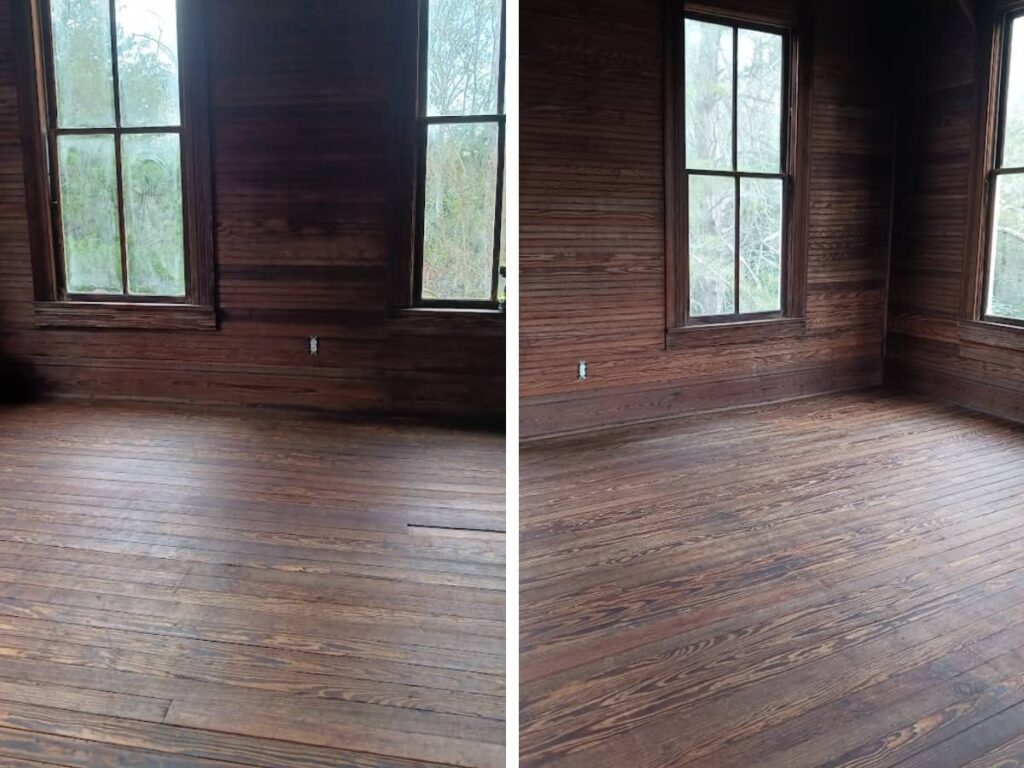
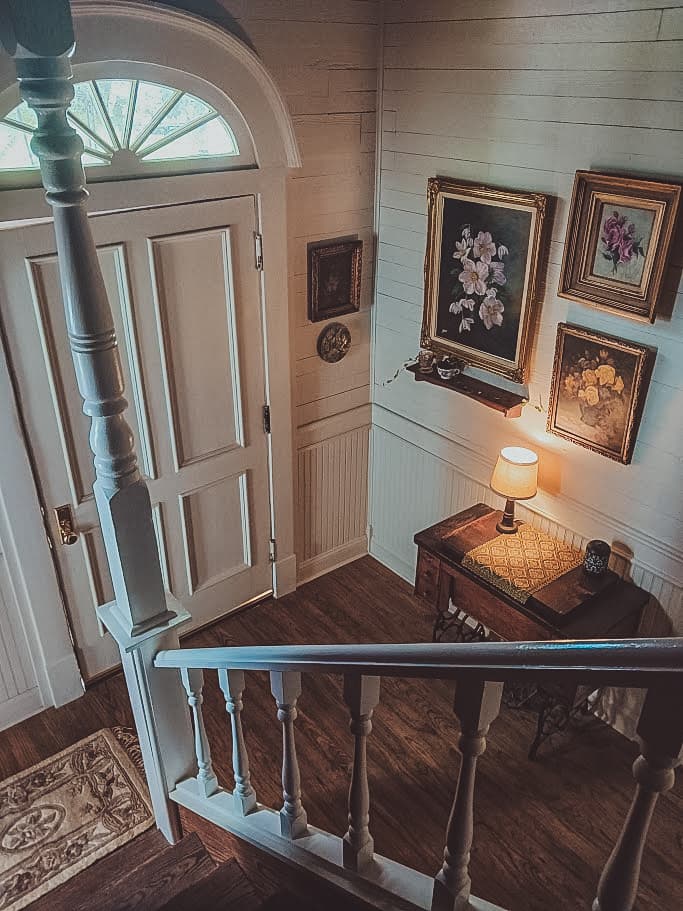
Upstairs
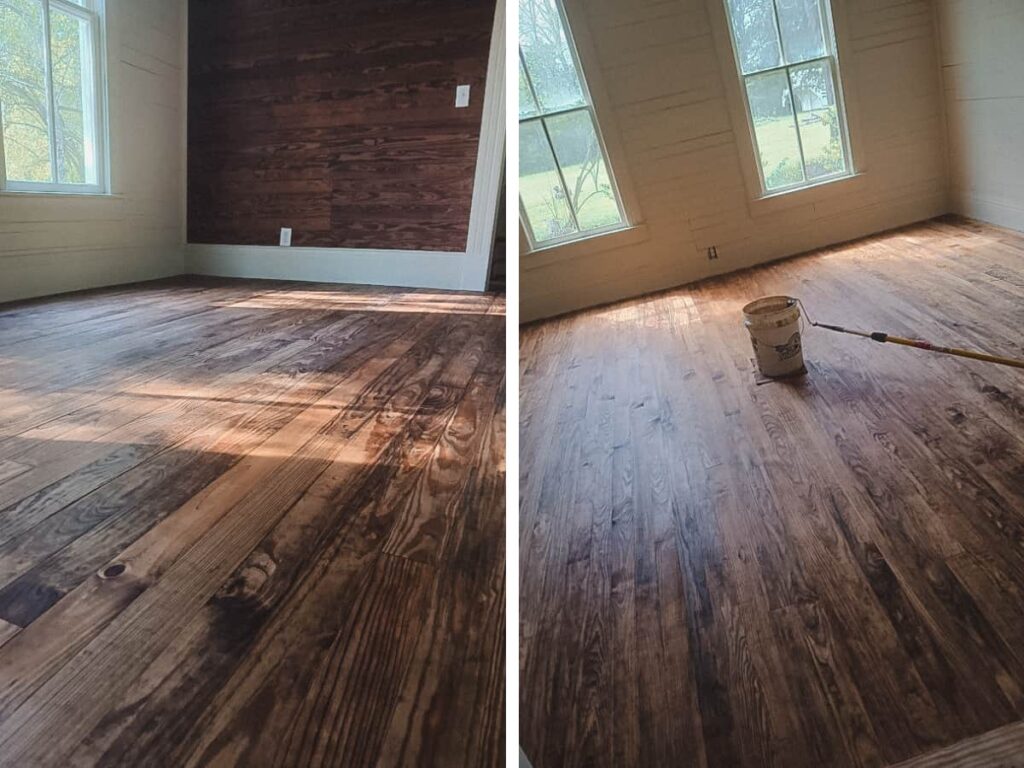
There were cracks, chips and layers of grime but the creaky old floor was solid. One of the bedrooms had been painted and in doing so, paint was splattered across the floors. Our daughter gave it a light sanding with an orbital sander. Then we cleaned and cleaned and cleaned some more! The floors were dry, faded and in great need of some love. That love came in the form of pure tung oil, half-cut with a citrus solvent. The floors drank the oil in. I was amazed at the life that came back to them! Once dull and gray, they are now a rich deep brown. Surprisingly, the floors only took 2 heavy coats before they quit absorbing. A few places needed a third.

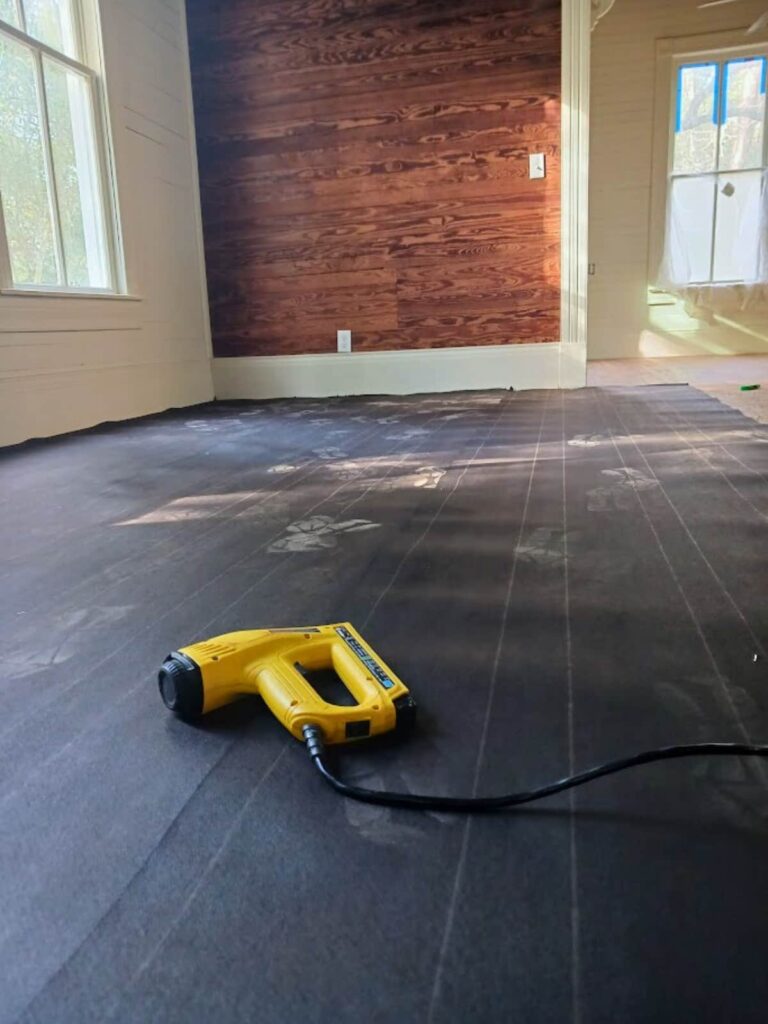
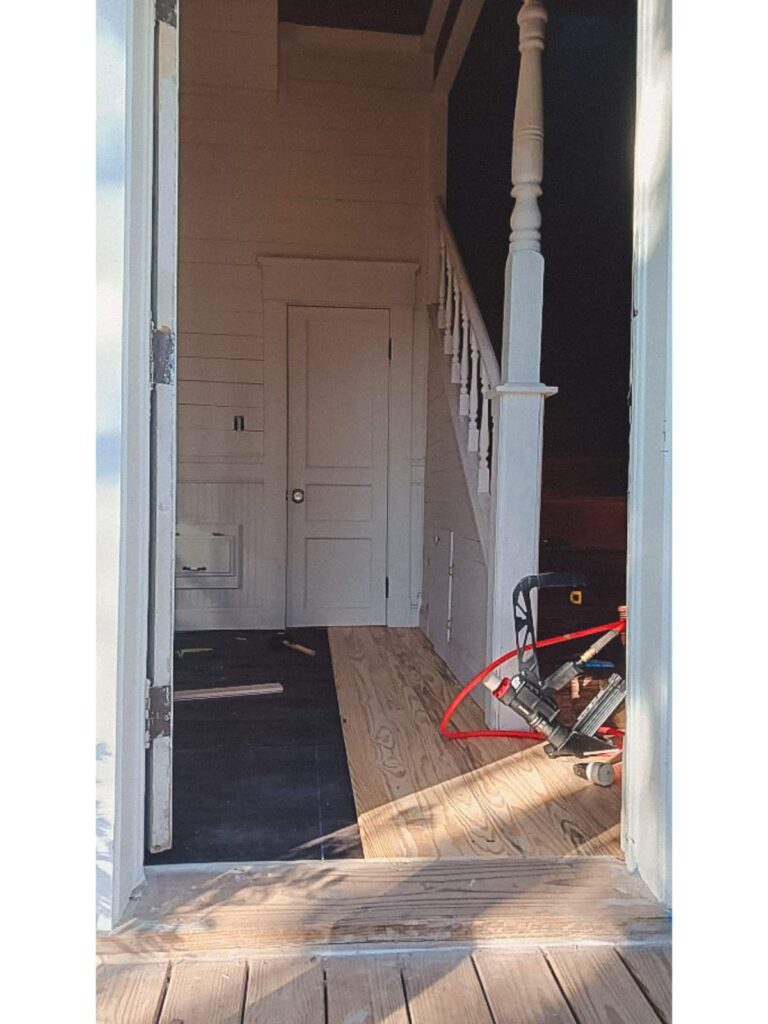
Downstairs
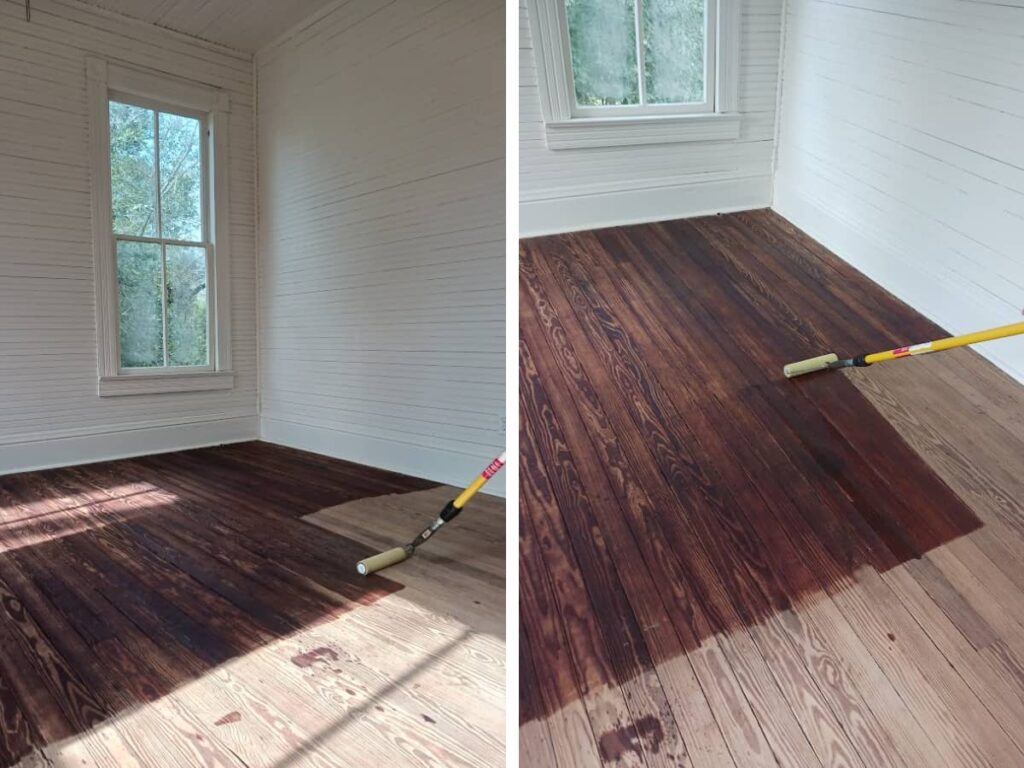
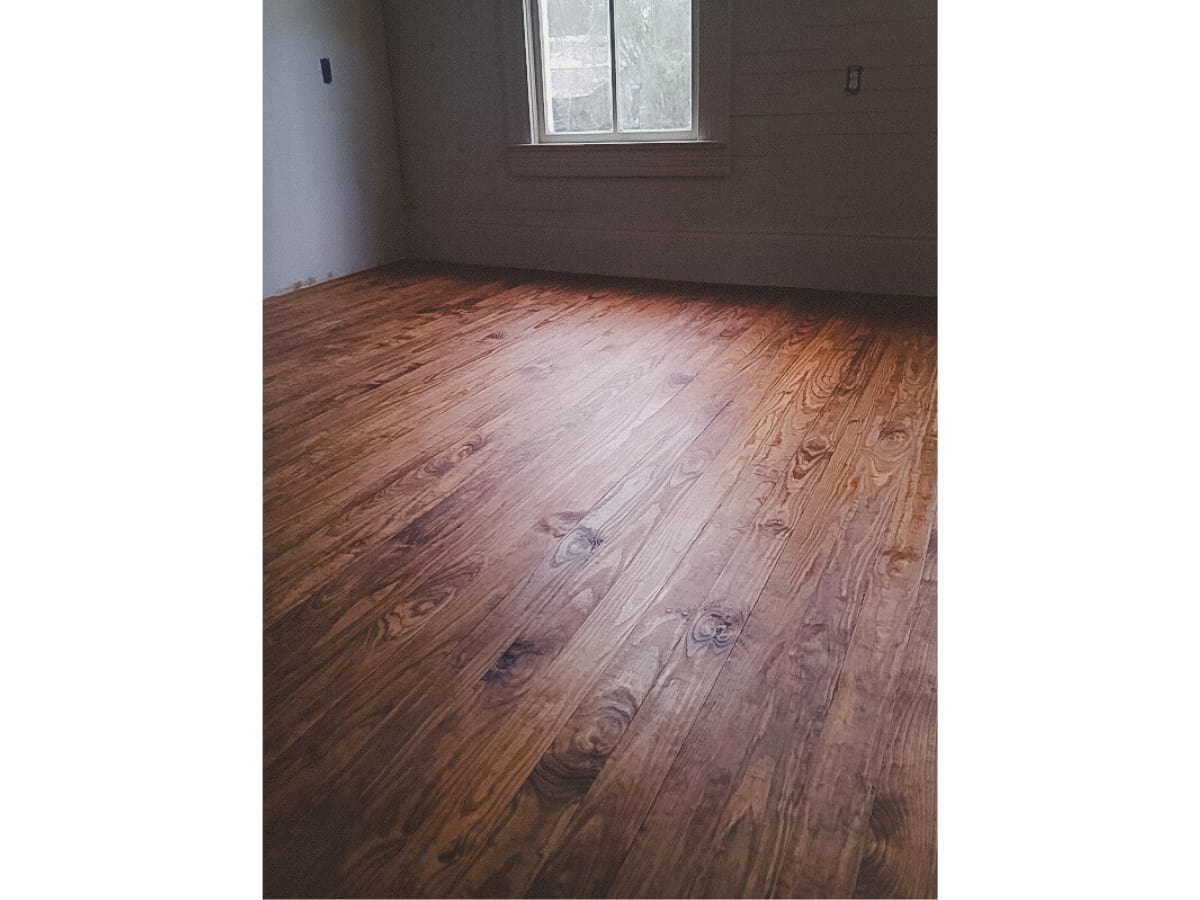
The existing flooring was removed, and new flooring was in order. New subfloors were necessary in the kitchen, bathroom, and a small area of the foyer. Fortunately, the dining room and living room had solid plywood subfloors, laid by a previous owner. The original floors in the bedroom and the rest of the foyer were still good, but since we were laying new floors in the other rooms, it made sense to continue the new flooring throughout the entire first level. While we would have preferred new heart pine floors, it wasn’t in the budget. Instead, we found a local mill that produced 4-inch pine flooring that would fit our budget and still compliment the home. After lightly sanding the newly laid floor with an orbital sander, it was ready to be finished!
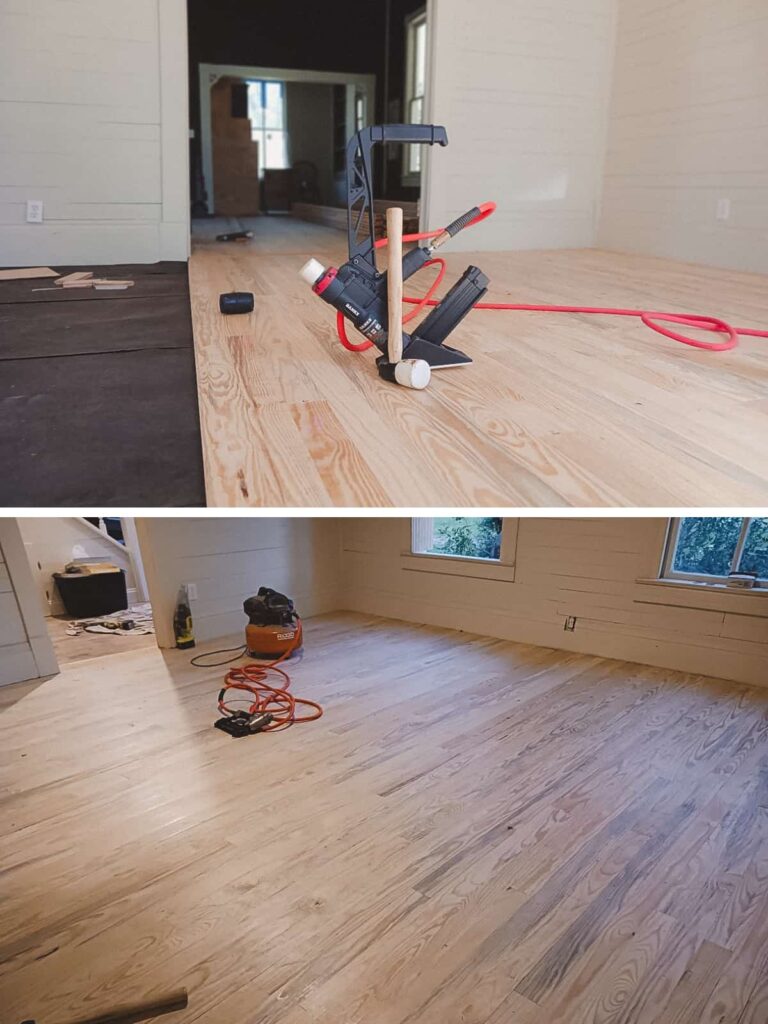
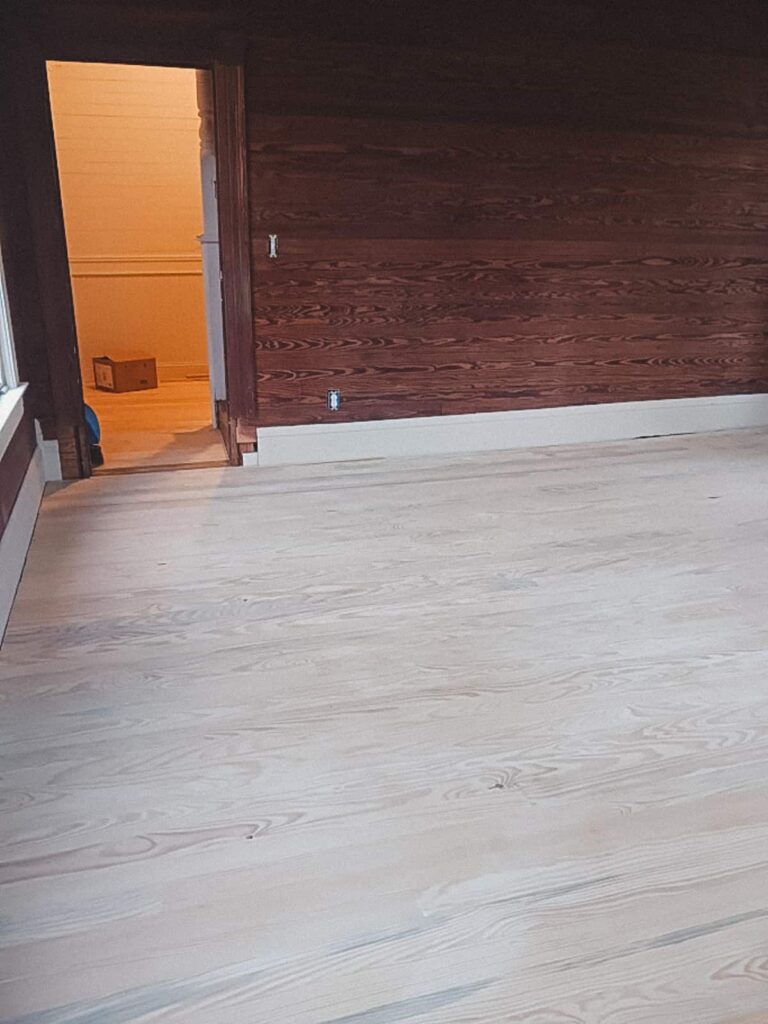
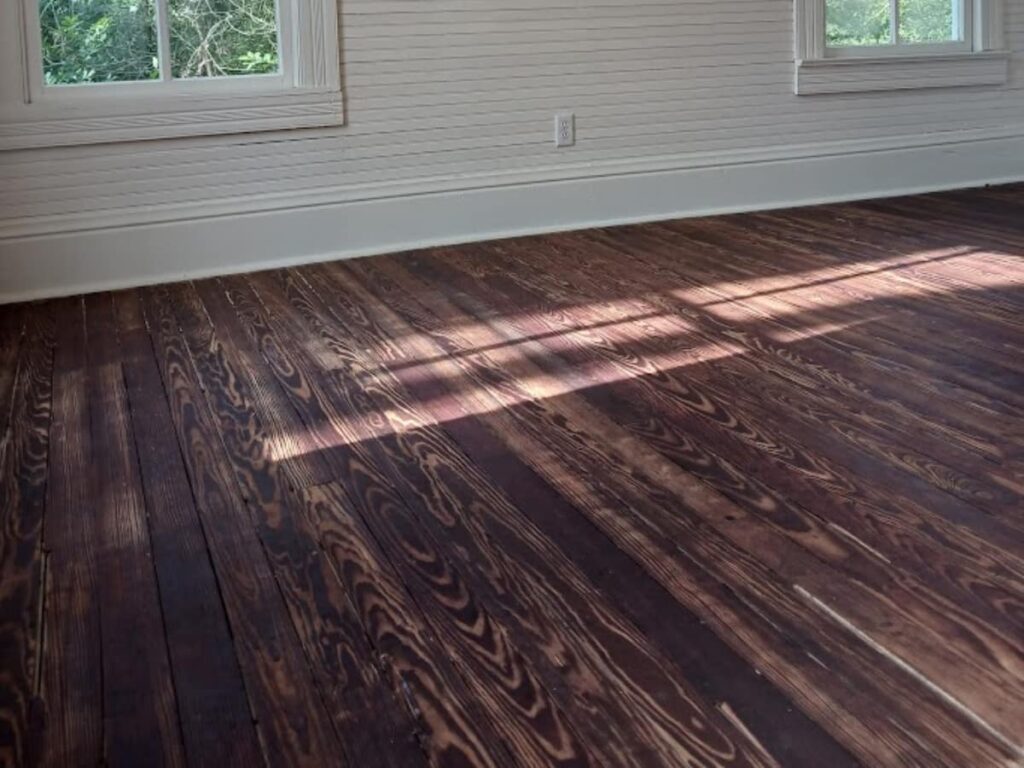
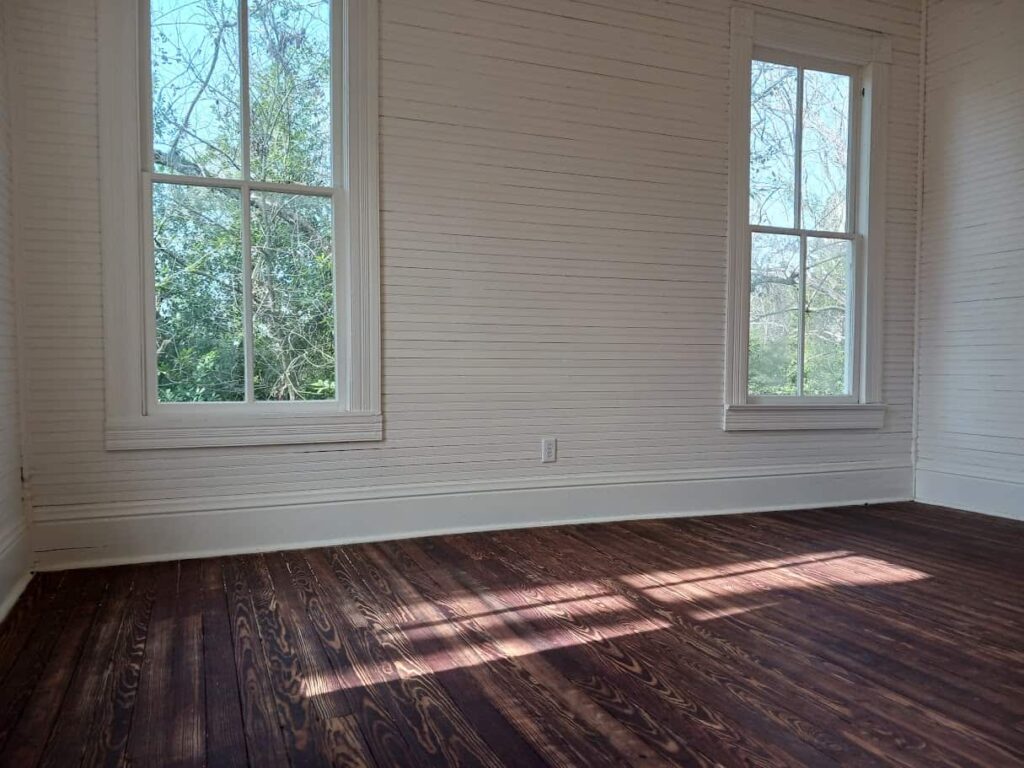
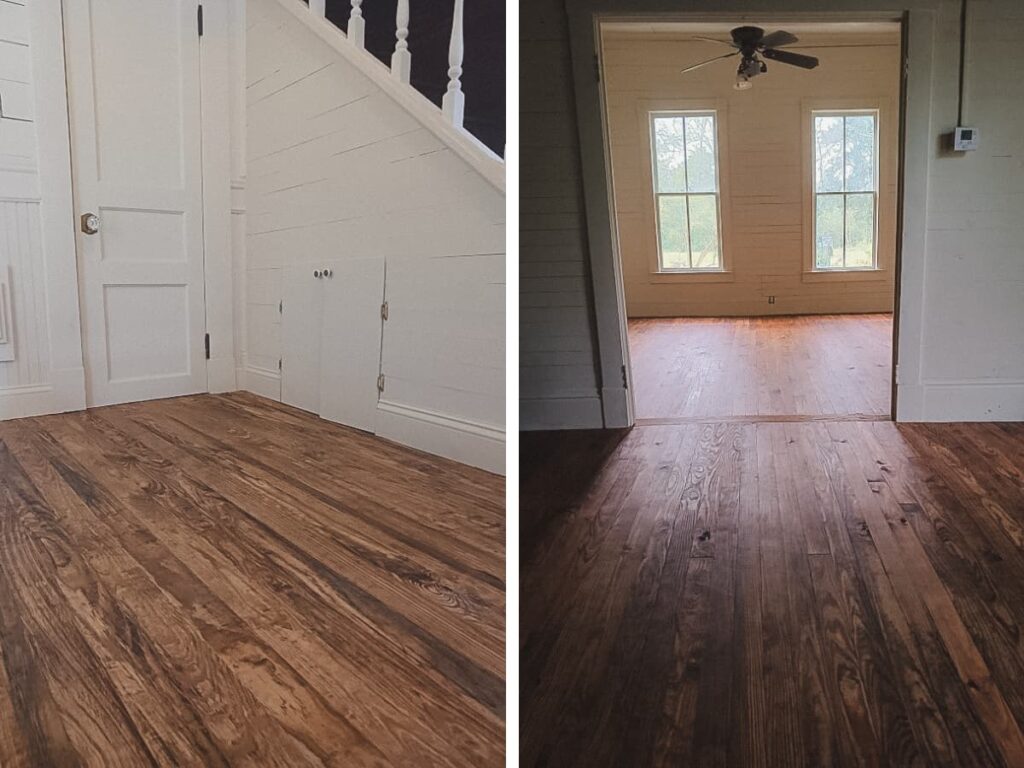
To finish our new floors, we decided to use dark tung oil, mixed with a citrus solvent. Dark tung oil contains a natural resin that produces a warm, rich tone and gives the new wood an aged appearance. We wanted our new floors to blend in with our old, rustic house rather than stand out. We feel these new-old floors do just that.
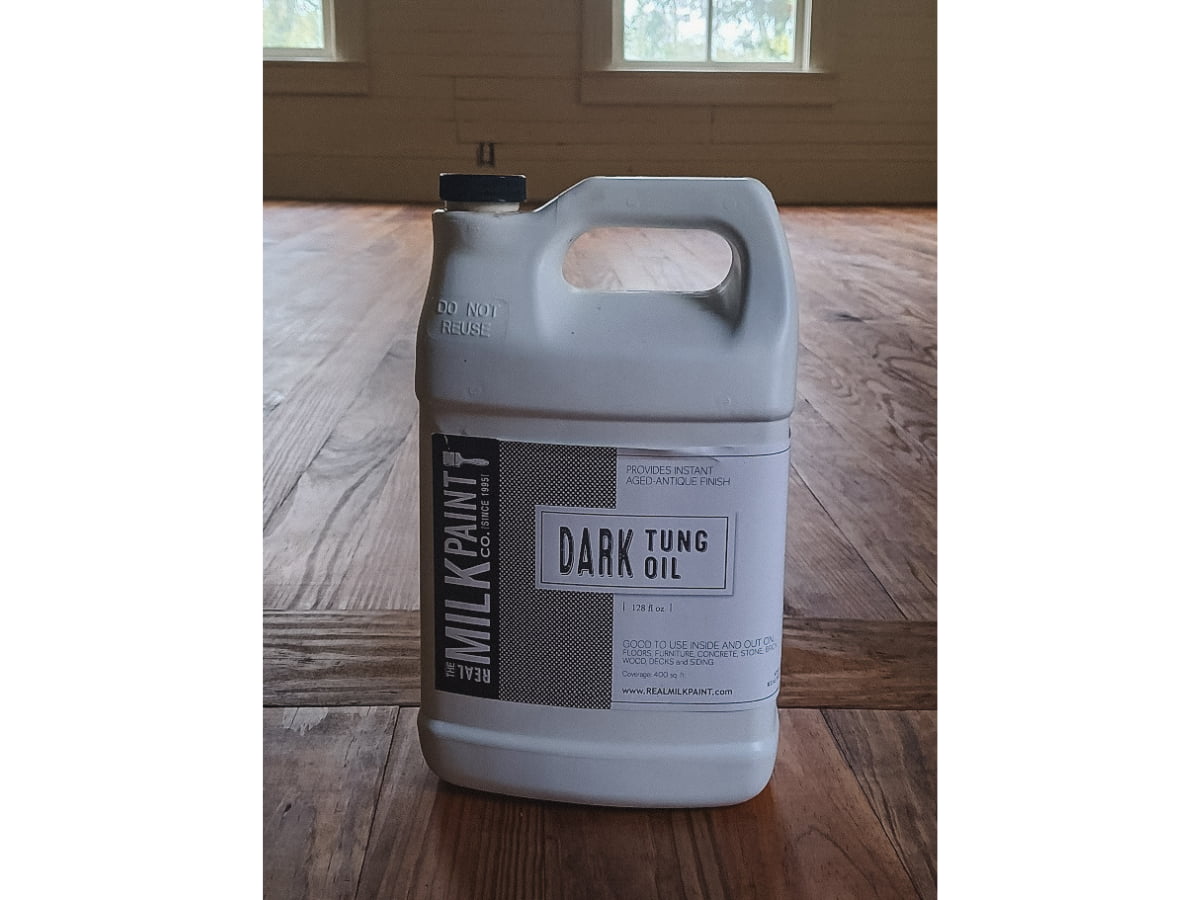
Product Links for RMP Finishes mentioned in this post:
If you are planning a wood project and are looking for an easy-to-apply, all-natural finish, I hope you give tung oil a try. If you do, please let me know in the comments how you like it!
This post contains affiliate links. If you make a purchase, I may earn a small commission for my recommendation/link at no extra cost to you. To get 10% off your purchase, use any of the highlighted links above or visit The Real Milk Paint Co. / RMP Finishes website at any time and use the code oldhouse10 when purchasing any RMP product.
Pin it for later:


Your floors are beautiful! I love the tung oil! I used a mixed boat soup for my floors and the slats of my yurt. But it’s nothing as nice as yours, lol. Mine was homemade boiled flaxoil, beeswax, some pine tar, and a few essential oils. It smelled really good! I’ll have to keep the tung oil in mind for next time I need to finish wood. It looks so rich! Anyway, you did such a great job remodeling that house, I love all of it!
Thank you very much! I bet yours turned out great as well.. What a neat diy sealer! This was so simple and almost fail proof. I have used it on every wood surface in the house. It worked out so well and smells like oranges for days!
This is beautiful! My husband wants wood floors but i was nervous about the maintenance. This makes it seem simple and sounds super durable. Thanks!
Thank you! We have zero regrets. With pine floors being a softer wood so they do scuff easier but we are ok with natural wear..our whole house is scuffed and chippy! Ha! There are a few places where our dog scratched the floors when running out the door, and I just wiped more tung oil over those places. Super simple!
I love old houses with all their nooks and crannies, charm and challenges! The floors are turning out beautiful, as is your whole house!
Thanks so much!
Wow, amazing results!! Great job! We used milk paint tung oil for our butcher block countertops and we love it. I think that next time they need to be finished I’m gonna try the dark one, it looks stunning on yours floors 😍
Thank you! We are super pleased with the turn out. I’m thinking about using it on our porch floors as well!
Wow!!! What a difference! Your floors look beautiful! I’m sharing this with my sister who is in need of something similar.
Awesome.. thank you! Tell her to feel free to reach out if she has any questions. 🙂
The before and after pictures are amazing! Beautiful!
Thank you! 🙂