Soap Making
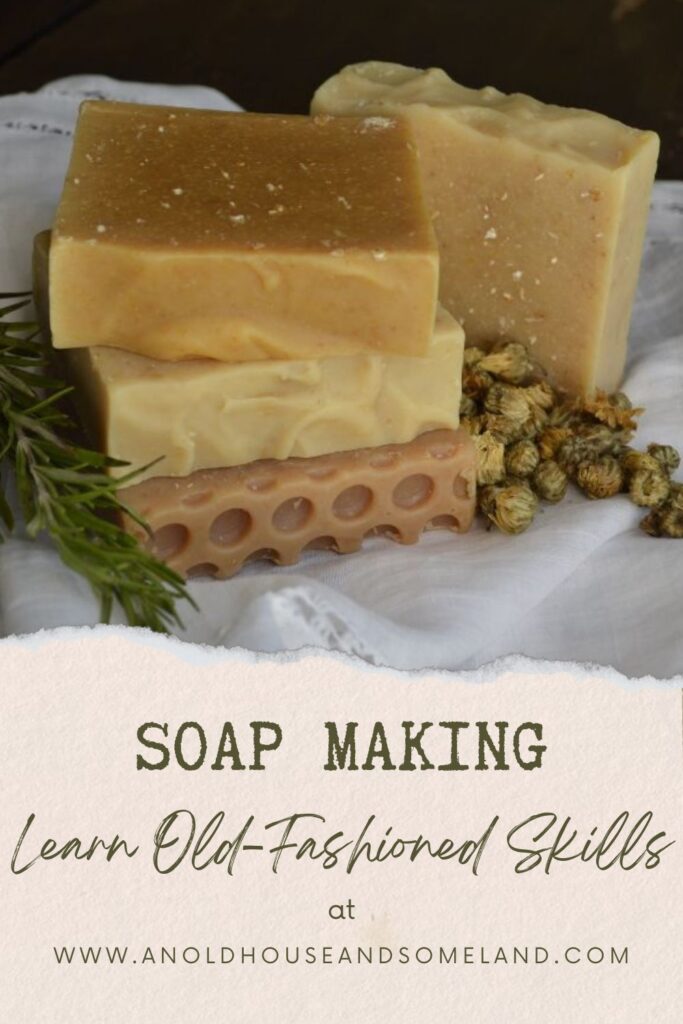
Welcome to my beginner’s guide to soap making. This is an old-fashioned skill that is still very useful today. Making your own soap not only provides your home with one of its basic necessities, but it takes you back to a simpler time when homespun products were the majority. Learn how to make a simple soap with ingredients you can find at your local grocery store.
My Method of Soap Making
I was hesitant to write a guide or “how-to” about soap making. I understand soap making is a science and most people use scales to measure their ingredients and thermometers to check temperature, but I dont. I go by feel and looks. I was talking to my mother about this and her response was, “How do you think women used to make soap a long time ago?” She’s right! The women who made soap for their households years ago likely didn’t have thermometers and scales. This website is all about traditional old-fashioned living so I am going to teach you how I’ve been making soap for the last 15 years.
I began experimenting with soap making in 2009, shortly after purchasing my first dairy goats. Back then, I made goat milk soap but no longer do, due to an uncommon allergy to goat’s milk that I developed 12 years into the dairy goat business. Now, I make plain all natural lye soap using the cold process method. I chose this method over hot process because I prefer to use essential oils over fragrance oils. Cold process soaping is gentler on the oils and preserves their therapeutic properties and fragrances better than hot process soaping. There are many soap recipes available online. I recommend you use and online lye calculator to compare your recipes to to make sure your fats, liquids and lye balance out. I will include options for incorporating goat’s milk for those who are interested.
Ingredients and Supplies
Ingredients
5 cups iced water (alternative option: 2 cups water, 3 cups frozen goat milk)
9 cups lard
2 cups coconut oil
1 cup olive oil
1 1/4 cup food grade lye (beads)
Essential oils, oatmeal or any natural additive of your choice
Supplies
Measuring cups
Wooden or stainless steel spoon
Rubber spatula
Stainless steel mixing bowl
Large pot
Immersion blender or stand mixer
Molds
Safety glasses
Kitchen gloves
The Soap Making Process
- First prepare molds. This batch makes apporoximately 9 pounds of soap. You can use anything for molds. I prefer using loaf molds and cutting my soap into bars. For quick release, line your molds. You can use things such as freezer paper, plastic bags, or fabric.
- Measure your ingredients. a.) Measure all fats/oils into a large pot and melt over low-med heat until they are warm to touch and liquid.
b.)Measure the lye into a large bowl. Carefully add iced water and begin to mix immediately and continually with a spoon until the lye dissolves completely. Once the lye makes contact with the water it will begin to heat up. Mix until it cools to the same temperature as fats. I judge this by placing my hand on the outside of each bowl/pot and comparing the two temperatures. It doesn’t have to be exact, just very close. (For goat milk soap: first add frozen goat milk, then water) - Combine the two liquid mixtures. Slowly pour the lye/water mixture into the fat mixture, stirring with a spoon. Once they start to combine, blend with an immersion blender for a few minutes then rest a few minutes. Repeat until the mixture comes to trace: meaning the soap has emulsified and is the consistency of a thick pudding. When drizzling the soap mixture with a spoon across the pot of soap, it will leave a trail of soap behind that takes a minute to settle. Alternatively, you can use a stand mixer for this step. You will just carefully pour your fats into the mixing bowl, then stir in the lye mixture by hand before turning on the mixer to medium speed. This process takes a bit longer and I recommend to mix/rest in 10 minute increments. You may need to occasionally scrape the sides of the bowl with a rubber spatula to be sure it is mixing evenly. This hands off method gives you time to do some cleanup while your soap emulsifies.
- Mix in your add-ins. After the soap has come to trace it’s time to add any essential oils or other natural additives you’d like in your soap.If you plan to add essential oils, I use anywhere between one and two ounces of EOs depending on which I use and how strong they are. You can also use ½ – 1 cup of ground oatmeal, dried herbs or any other natural additive you would like to use. Start mixing the additives in by hand with a spoon or spatula then change over to your blender/mixer on low speed until mixed throughout. Work quickly and get the soap poured into the molds soon after blending in additives.
- Let it rest. Allow to sit undisturbed for at 24-48 hours before removing from molds.
- Cut and cure. Remove your soap from the molds and slice into desired bar size if necessary. There are soap cutters available for this or you can mark and slice with a knife. Line your soap out on a rack that allows good airflow and allow to cure for 3-6 weeks, depending on your climate. As moisture evaporated from the bars, the soap will harden. This extends the life and use of your bar. When the soap feel dry and firm, it is ready!
Notes and Tips
- The amount of time it takes for your soap mixture to come to a trace depends much on the weather. When it’s cold, trace comes more quickly than when it’s hot. In my experience, nice dry sunny days are much better for soap making, but it can be done at any time.
- Start clean up immediately to avoid soap drying to your supplies. Use gloves.
- Lye produces heat and fumes once introduced to liquids. Handle with caution and in a well ventilated area.
- Raw lye is irritating to skin, use gloves and safety glasses. Wash hands immediately if skin comes in contact.
- Do not use aluminum bowls, pots mixing utensils or foil when soap making. Together, lye and aluminum create a chemical reaction and your soap will begin to bubble and turn green.
Pin this page for later:


